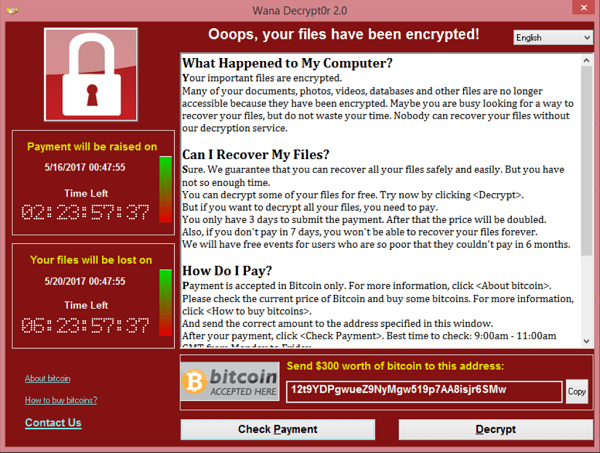
Ah, ransomware: Over the past few years, millions of PCs from around the world have been locked or had their files encrypted as a result of devious malware.
What we call “ransomware” today is a form of malware that is typically installed on one’s computer by way of a social engineering attack. The user gets tricked into clicking on a link or opening an attachment — once the malware is on the machine, it begins to encrypt all the data it can find there. Once completed, there will be two files in the directory that indicate which contents are being held hostage, alongside with instructions on how to pay the ransom in order to decrypt those files.
Sounds strange, but ransomware has become a very successful criminal business model. Some infamous examples of the “godfathers” of ransomware are CryptoLocker, Locky, and TeslaCrypt. One such outfit, CryptoWall, has generated over $320 million in revenues to date.
The first ransomware virus, AIDS Trojan (aka PC Cyborg), was created in 1989 by biologist Joseph L. Popp. The AIDS Trojan was first-generation ransomware that used simple symmetric cryptography, and tools were soon available to decrypt those filenames. However, the AIDS Trojan set the scene for what was to come.
According to Kaspersky Security Bulletin, in 2015 there were 1,966,324 registered notifications for attempted malware infections aiming to steal money via online access to bank accounts. Various ransomware programs were detected on 753,684 computers of unique users; more than 179,000 computers were targeted by encryption ransomware.
In April 2016, CNN Money reported new estimates from the FBI which revealed the costs from so-called ransomware have reached an all-time high. Cyber-criminals collected $209 million in the first three months of 2016 by extorting businesses and institutions to unlock computer servers.
Unfortunately, there’s no end in sight. How can one protect himself and his valuable information from being encrypted into unreadable mess?
“If I would think how to improve the usability and protect against crypto malware threats, I would suggest improving incremental backup strategies, which would supervise certain data sources, back them up automatically at any change, and allow them to be restored at any date in the time history. This way, I could easily revert back to before malware encrypted my files.”
The above suggestion was made via email from a Paragon Software customer, and indeed backup is a very efficient way to protect data. According to Oxford Advanced Learners’ Dictionary (developed by Paragon in conjunction with Oxford University Press), “backup is a copy of a file, etc. that can be used if the original is lost or damaged.”
One of the most popular backup tools is Time Machine – the built-in solution for Mac, introduced with OS X Leopard. Time Machine works at the file level, which is inefficient when dealing with an active operating system and running applications. Files should be unlocked or closed for proper backup, which is not an option with most system files and those used by currently running apps.
Time Machine waits until user applications are closed and locked files become available to process, ignoring system files completely. That’s why OS X has a two-step restore procedure: The user first reinstalls the operating system before retrieving application and user files from the backup image.
There’s a better backup approach based on system snapshots, which considerably reduces backup and recovery times. For a better understanding of this method, let’s visualize the entire process.
You want to back up a particular state of your Mac. However, you know that some files are being constantly changed by the system, and some might be changed by you — such as working with them during the backup procedure. It means that part of your system will be backed up at one point of time and the rest some minutes later. This causes inconsistencies with file properties, and you won’t be able to restore references and links between such files.
Snapshot is like taking a photo of your filesystem, excluding changes made after that point. They will still be present on your hard drives and will be included with the future backups, but not the current one. That’s exactly why this is the only backup method that can be used to protect an active operating system. Additionally, although Time Machine waits until running applications are closed and locked files become available, the backup operation obviously takes more time than if it’s done with a snapshot-based utility.
To illustrate the difference, we performed an internal lab test, comparing the brand new Paragon Hard Disk Manager for Mac against Time Machine and another popular file-level backup solution. Have a look at the results:
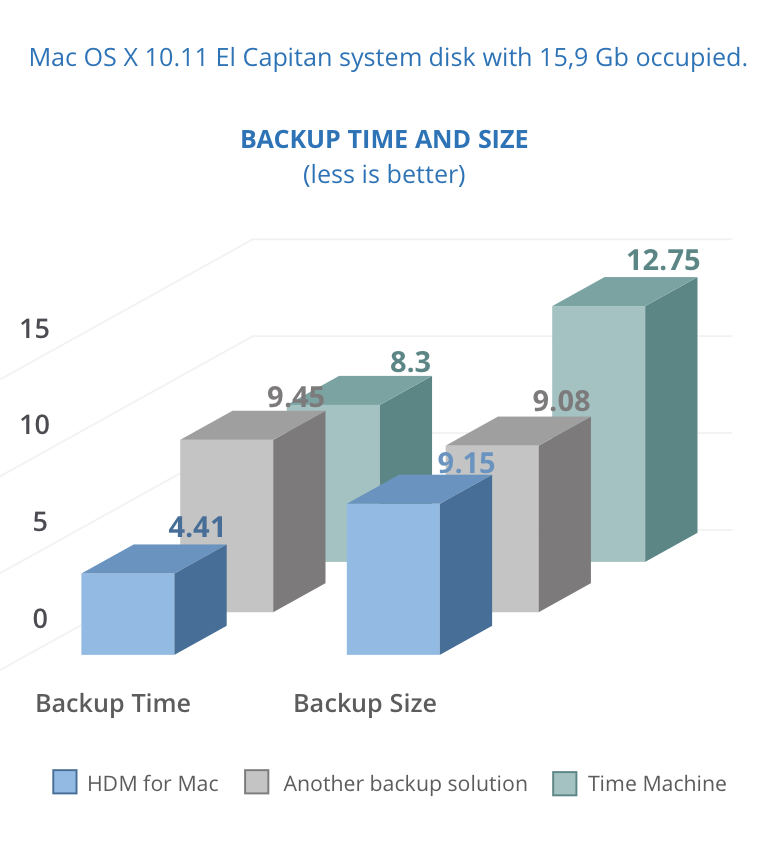
Paragon HDM for Mac is designed to create instant copies of a disk (or several disks) at a specific point in time. This technology takes consistent snapshots of both inactive and in-use partitions. Unlike Time Machine, HDM provides snapshot-based backup and operates at the sector level, achieving superior performance and speed.
As you can see from the graph above, it takes Hard Disk Manager far less time to back up 9.15 Gb of information than Time Machine or a similar solution. HDM for Mac comes with improved snapshot technology, enabling consistent image backups even as the data is being modified at that moment.
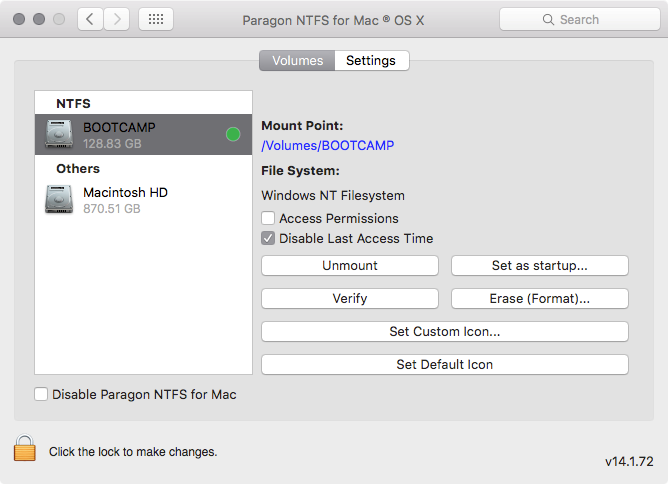
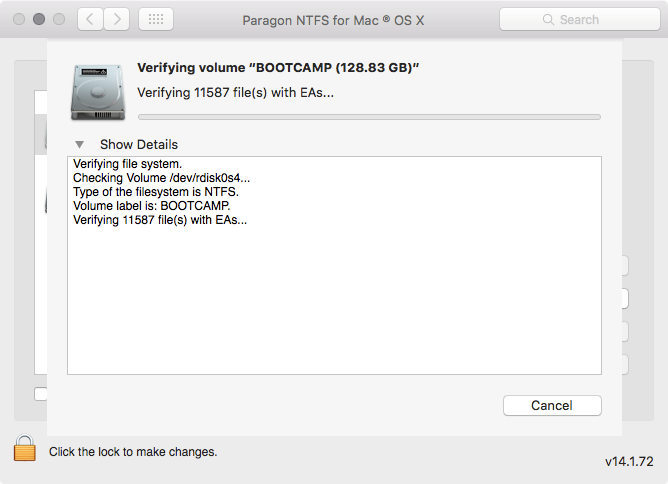
HDM for Mac is not just for backup — it’s a powerful application that covers all aspects of the computer’s life cycle, including drive partitioning, file system optimization and repair functions, data backup capabilities, and irreversible data wiping. It also supports all file systems of OS X, Windows, and Linux.
Get it now! Seriously, it’s that good.
- System Integrity Protection in OS X 10.11
El Capitan support;
- Sector-level backup for best perfomance and backup/recovery speed;
- Move, resize, undelete partitions and modify their properties;
-
- Migrate Windows OS from one Mac computer to another;
-
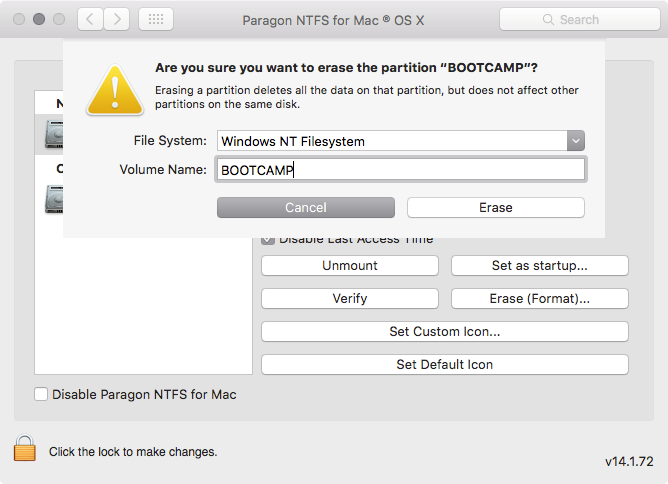
- Format volumes in any of the common file systems (NTFS, HFS+, ExtFS, FAT 16/FAT 32 and exFAT);
- And much more!
Learn more about Paragon Hard Disk Manager for Mac


 Paragon Backup & Recovery 16 software absolutely free of charge. This essential tool can be used alongside Paragon Hard Disk Manager for stronger backup functionality, or separately on other devices.


 Paragon Backup & Recovery 16 is an easy-to-use system and data protection solution for Windows PCs. Thanks to its unique interface and user guidance, it is the perfect tool for both the fledgling PC user as well as the sophisticated PC professional. With Backup & Recovery 16, you can set complex backup routines quickly and easily like never before.